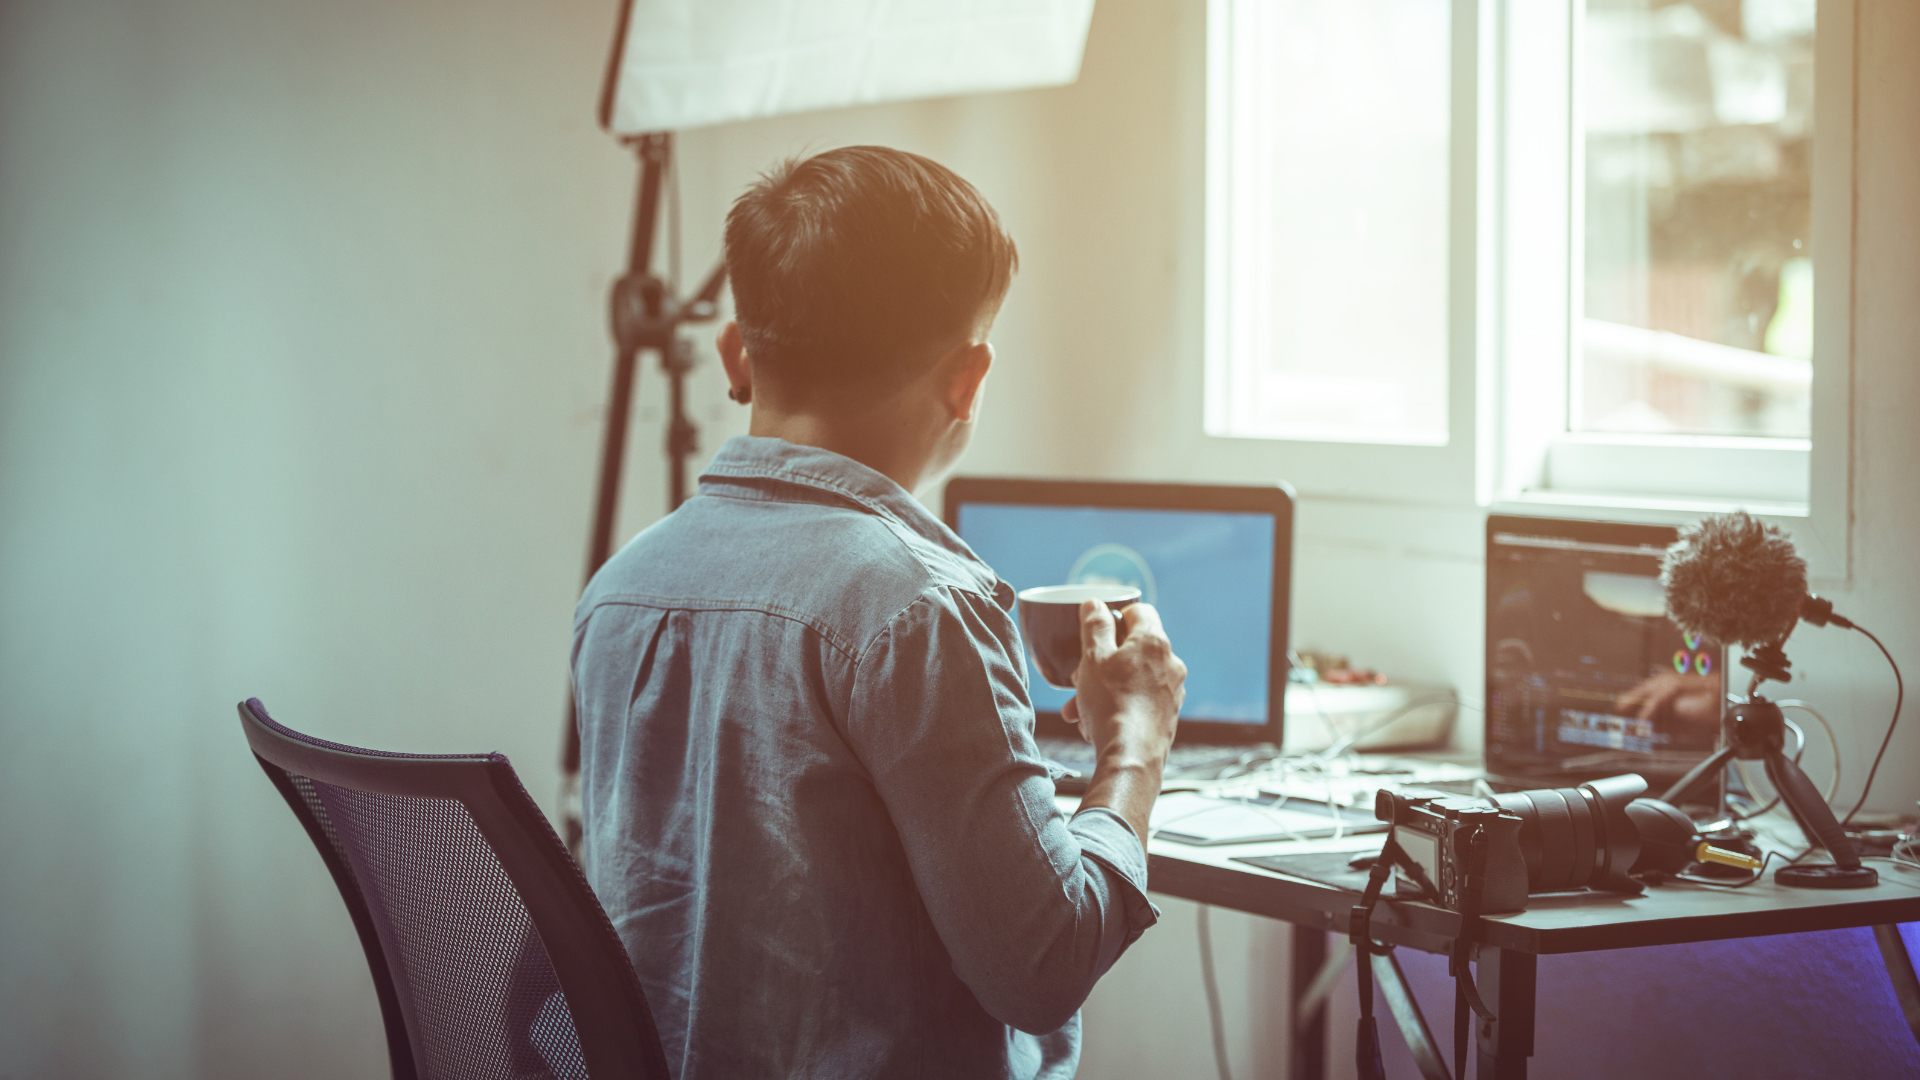
You Light Up My Life: How to Set Up Three-Point Lighting for Video Calls and Interviews

If you’re looking to learn more about setting up the best lighting for video calls, you’ve come to the right place. When participating in a video interview, it really pays to go the extra mile to ensure everything is on point so that you make a great first impression.
Take it from us, the quality of your video call can be greatly enhanced with the right lighting setup, and one of the most effective techniques is three-point lighting. This method includes the use of a key light, fill light and backlight. Mastering this setup can significantly improve your lighting for video calls, so read on for what you need to know.
The key light
The first step to enhancing your lighting for video calls is setting up the key light. This is the main source of light and should be the brightest. It illuminates the subject directly and defines the most visible features and shapes.
Place the key light about 45 degrees to the side of the camera and slightly above eye level, aiming downward. This angle helps to create depth and avoid flat lighting, which can look unnatural. Softening the key light with a diffuser or softbox can help to reduce harsh shadows and mimic natural lighting.
The fill light
Next, it’s time to introduce the fill light. This light is used to soften the shadows created by the key light. It should be less intense than the key light, providing a balance that prevents severe contrasts and harsh lines on the subject’s face.
Place the fill light on the opposite side of the key light, also at about a 45-degree angle from the camera. For optimal lighting for video calls, try using a light source that’s about half as bright as your key light.
The back light
The final piece of the puzzle is the backlight. This light serves to separate the subject from the background, adding depth to the image. The backlight should be placed behind the subject, aiming toward the back of their head.
It helps create a subtle rim of light around the subject, enhancing their outline and preventing them from blending into the background. While the backlight’s intensity can vary, it should not be so bright that it creates lens flare or distracts from the subject.
Some tips for the perfect three-point lighting setup
To optimise your lighting for video calls, there are a few additional tips to consider:
-
Ensure that the subject is not sitting directly against the background. Some space can allow the backlight to work effectively
-
Use adjustable lighting fixtures when possible, allowing you to fine-tune the brightness and direction of the light
-
Remember to consider the colour temperature of your lights. Lights with a higher colour temperature produce a cooler, bluish light, while those with a lower colour temperature produce a warmer, yellowish light. Matching these can help to create a more consistent, professional-looking image
Final thoughts on how to set up lighting for video calls
When it comes to our final thoughts on how to set up three-point lighting for video calls, With careful placement and adjustment of these lights, you can create a balanced, professional, and aesthetically appealing video call setup. So, be sure to invest in the right equipment, master the positioning, and watch the quality of your video interviews rise to a new level.
For a deeper understanding, additional strategies, and valuable resources, make sure to join our YouTube channel and keep up with our blog posts. If you have any questions, feel free to reach out to Arwyn, the Time-Lord, for guidance.
