Use a Flash
Knowing when to use a flash when you take a photograph is important. We are moving into the season of parties (hopefully), and capturing those moments of being together is more important than ever.
When do you need to use a flash?
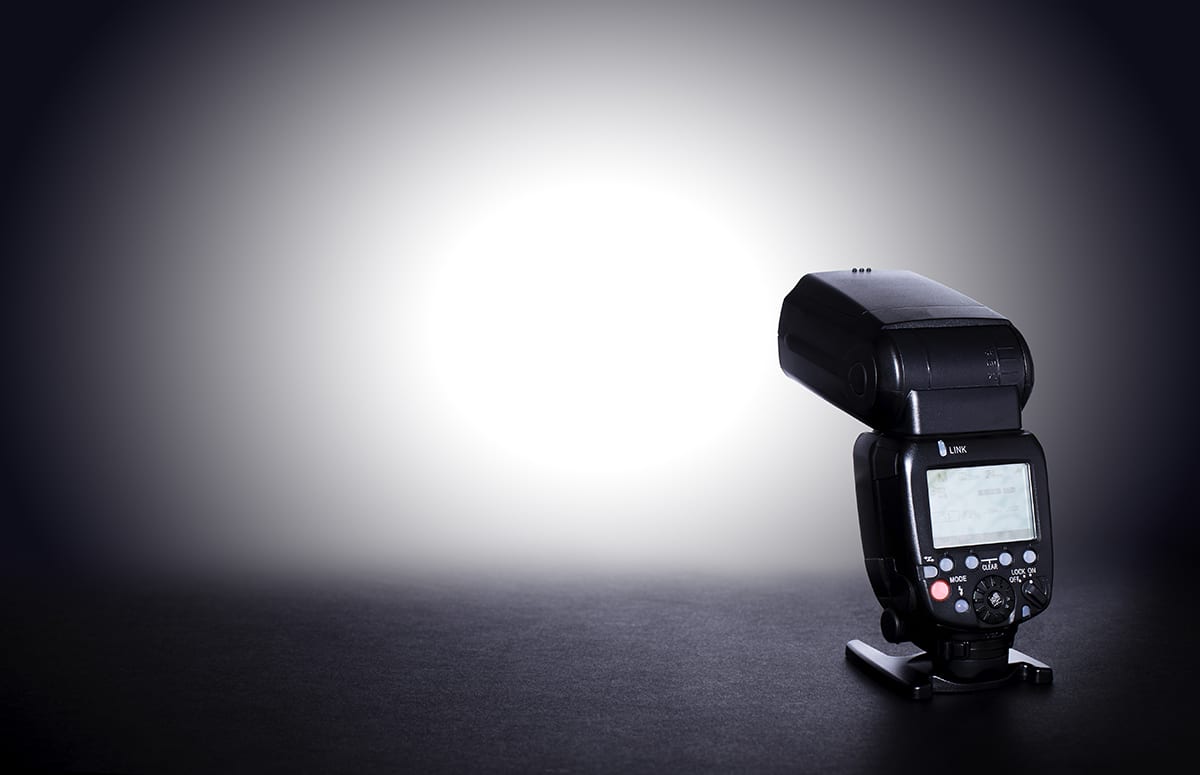
Flash Gun.
I am using this post to to help you to understand how flash lighting works and why it is so important.
A flash can be used to light an entire subject, or, as what is known as a fill in light.
You can use a flash to lift light parts of an image, as well as lightning or emphasising shadows.
Many devices and cameras come with built in flash, but, more and more these can be controlled through apps and manual settings.
In this article I am going to concentrate on the use of a flash gun, mounted onto a camera. But, the principles of this blog can be used on smart-phones and other cameras.
The use of the automatic settings for a flash will not “fit” every situation. These settings will not be able to accommodate every lighting situation. You will get a false reading into your camera when using auto settings on a flash.
So, the job of using natural and artificial light comes into play. Understanding a little as to how this works will help you to improve your photography.
Some Types of Lighting.
There are a number of ways that light can be used. Here is a very brief outline of some popular lighting techniques.
- Rim Lighting – Light from behind a subject that creates a halo. The front of the subject is normally in shadow.
- Rembrandt Lighting – This is a small triangle of light that appears on a face, below the eye and on the cheek of a subject.
- Broad Lighting – The light hits the subject on the side that is closest to the camera.
- Short Lighting – The light hits the subject on the side that is farthest away from the camera.
- Butterfly Lighting – A lighting pattern that creates a shadow underneath the nose of a subject that resembles a butterfly.
- Fill Lighting – A light that is less than the primary light source and fills dark areas with light.
Fill Lighting.
Depending upon your budget, there are different ways of creating fill lighting. They are as follows.
- Lighting Units – A studio type light, strobe or continuous.
- Reflectors – These are often portable and available in a number of sizes and colours. They reflect the key light onto the subject.
- Walls and Ceilings – These can be used to bounce light, such as a flash or studio light. This diffuses and reduces the light.
- Fabric – Soft furnishings, or, the clothing of yourself and a crew can create subtle effects when light is bounced off them, or, projected through material.
- Flash Guns – This is similar to strobe lights and can remove unwanted shadows.
- Negative Fill – Blocking ambient light to create a dark fill using something to stop that key light from lighting a subject can create a mood.
- Spill Fill – This is a spill of light that is unwanted. It may, for example, spill out from the sides of studio light barn doors.
It is important to note that understanding how to use these different types of light, and the mood and tone that will be created when they are used, is important.
Flash and Fill Lighting.
The use of a flash to fill in light on a subject is worth getting to grips with.
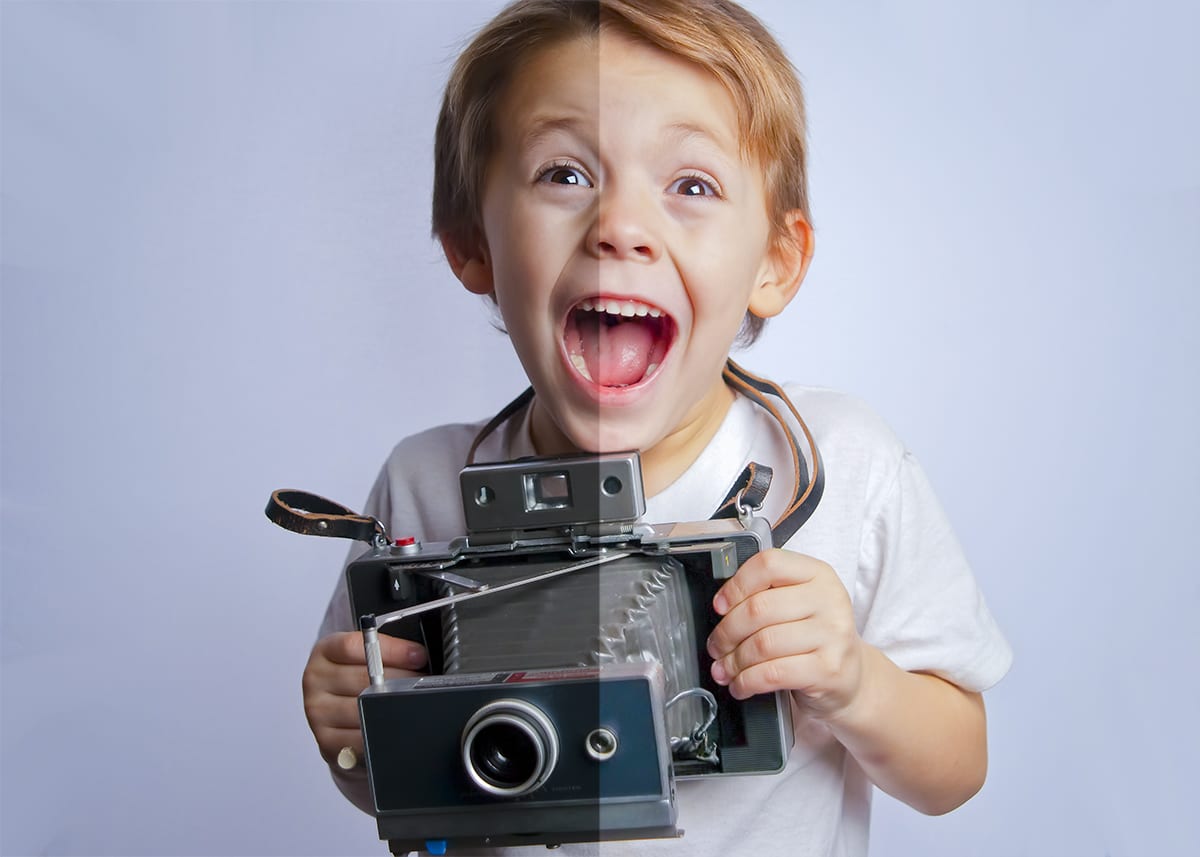
In Fill Light.
The image above shows how an image can be enhanced when the fill in light is applied. The right hand size of the image retains in fill light, the left hand side has this light eliminated.
Using a flash at an angle to bounce the light off a ceiling or wall will reduce the harshness of the light hitting the subject.
Use a flash on a tripod away from the subject is also possible.
It is also worthwhile reading a manual and learning how to use the settings on a flash.. Switching off the TTL (Through The Lens) setting is the first step to moving to using the manual settings.
TTL automatically adjusts the amount of light that the flash will emit, when the shutter is depressed on the camera, and this level of light is determined by the amount of light going through the lens and hitting the sensor in the camera.
This is all very clever technology, but, there is little to no control available, over the flash unit, to the photographer.
Bright Light.
A flash unit is not just for the dark.
When I was photographing weddings the couple and guests were delighted when the sun was shining brightly in the sky. For the photographer, me, that was a nightmare.
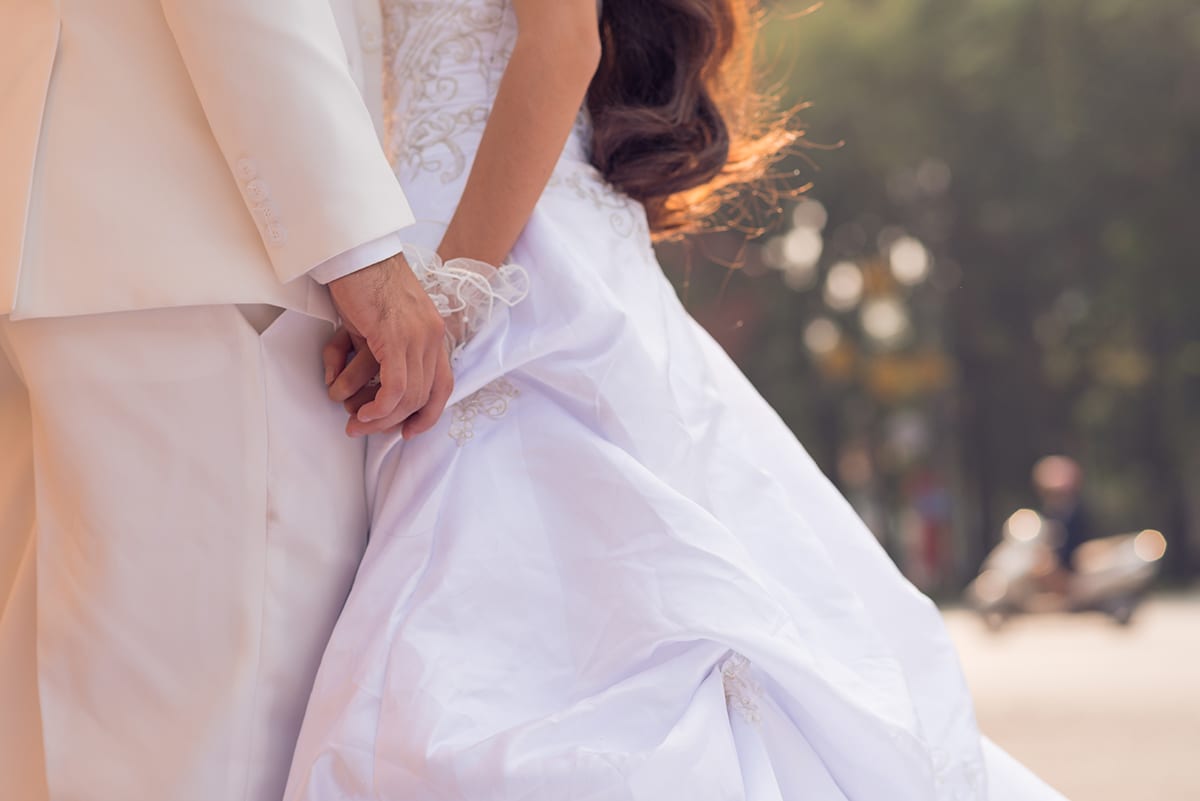
Bridal Couple.
The bridal dress is white. It is reflecting the bright sun. If one just takes the shot of the bride, without using a flash, the result is a white out off the dress.
A flash is used to increase the light hitting the dress, thereby creating shadows.
Understanding how light works, and how to deploy artificial sources of light, is important as it can make or break an image.
My Work.
I believe that light is the primary element of all imagery and art.
If one wishes to understand light, then just look at the work of J.M.W. Turner, the greatest artist ever to wield a brush (in my humble opinion).
If you are ever in the area, then visit Petworth House whereby you can view a large collection of Turner’s work. Turner is a master of light and capturing the mood within his pictures.
This artist has inspired me more than any other in my 0wn output of work. Below is just one image from my own limited edition collection. I used continuous lighting to shoot this image, over which I had full control.
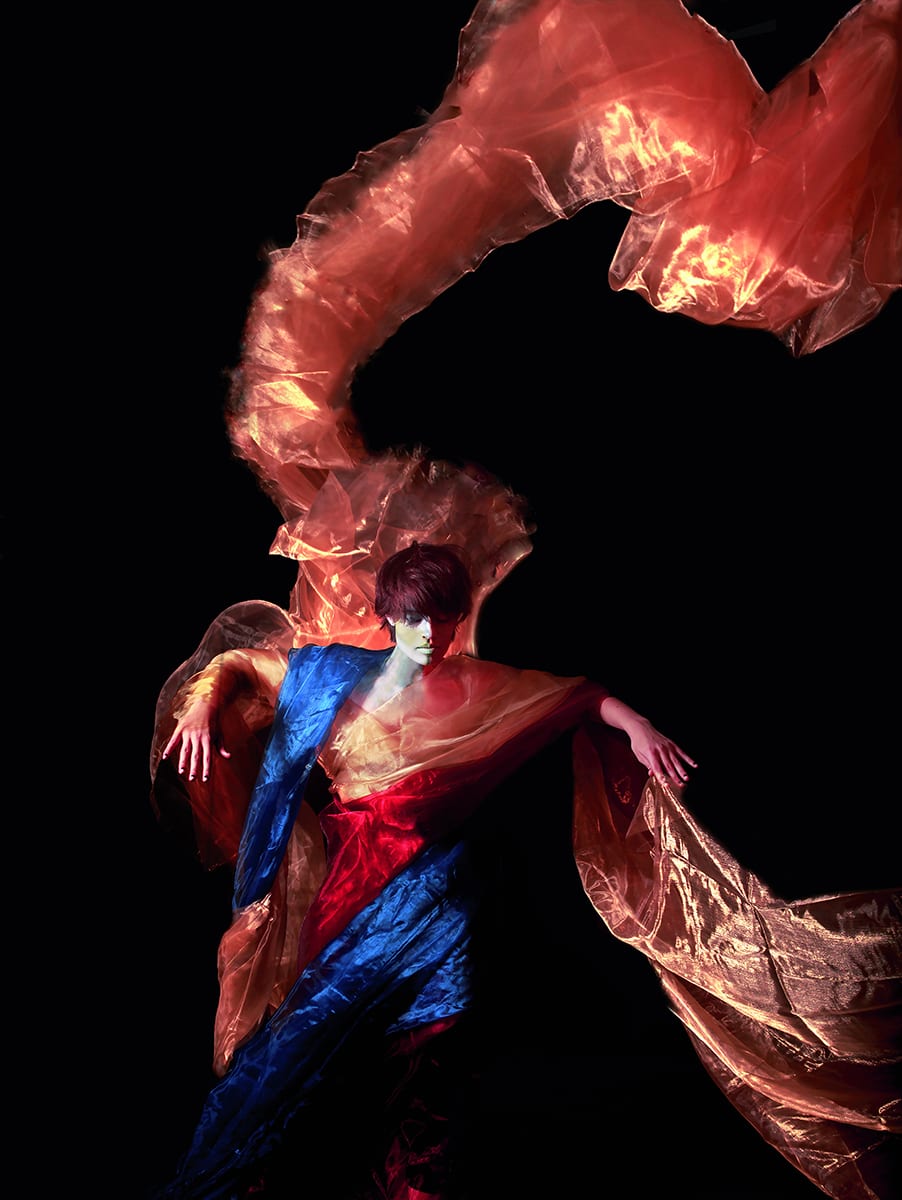
Limited Edition Print from The Time-Lord – Arwyn Bailey.
The following shot is a studio shot for which I used several strobes. Again, I had full control over the lighting. It a shoot for a hip-hop artist and they required a brightly lit shot to reflect the theme. This creates a completely different mood.
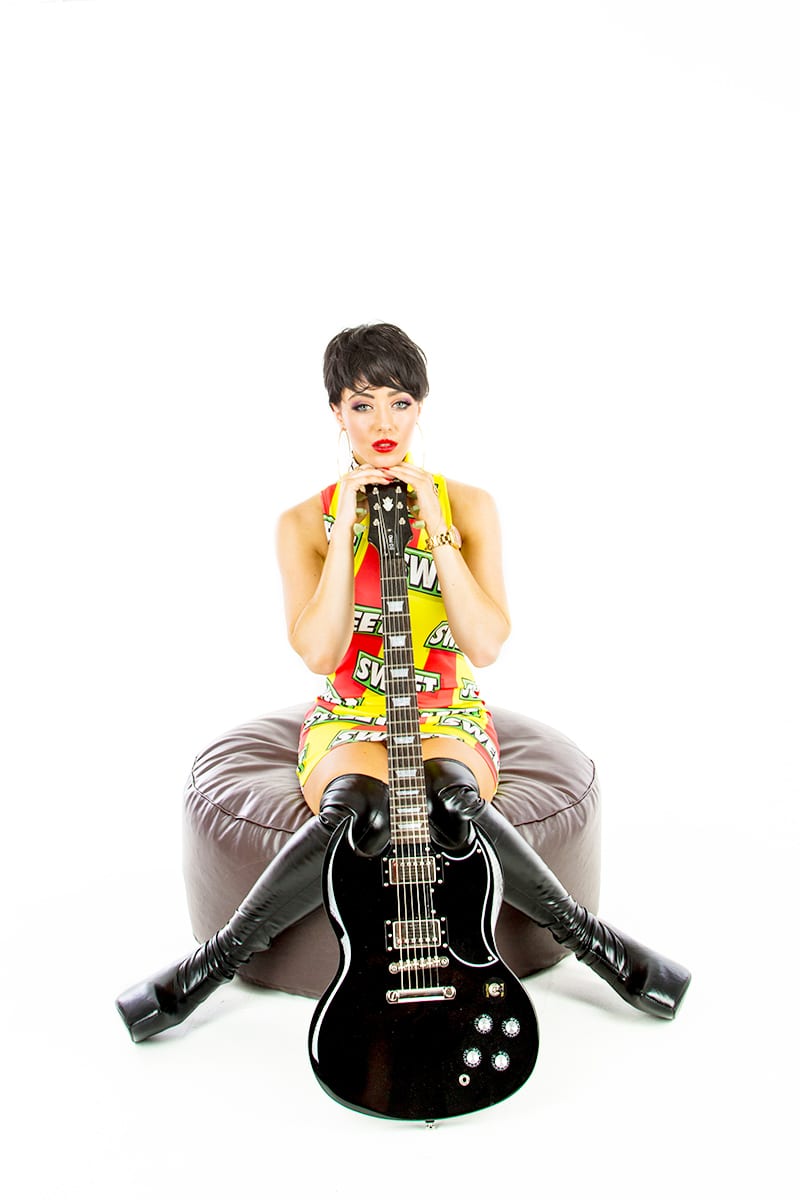
Hatty Keane Shoot from The Time-Lord – Arwyn Bailey.
Finally, here is a product shot for my client’s Keyzapp. They required some shots of part of their product. I wanted to create a softw light, but, brighten the images.
I placed the product by the office window and used the natural light, on a dull day. The sunlight (and the sun is still there on even a dull day) was also bouncing off the back wall creating a reasonably evenly lit back ground that I have edited to create a slight vignette effect.
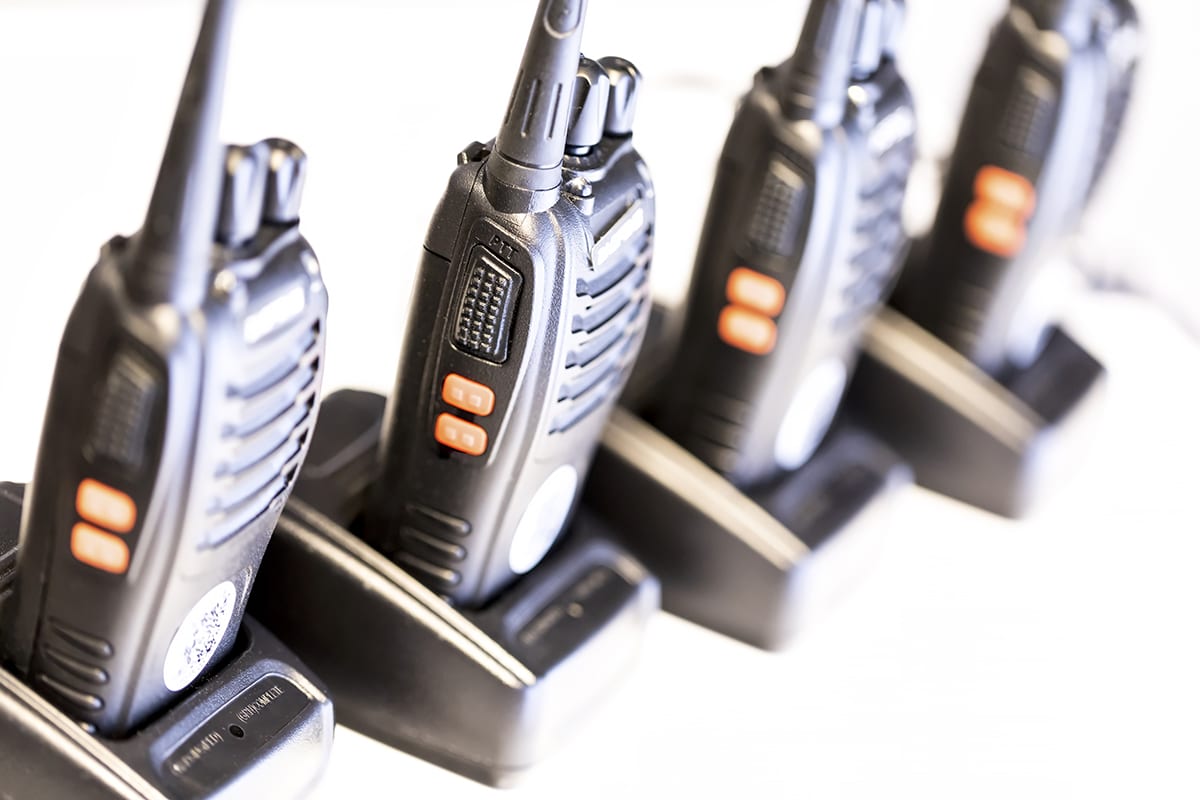
Keyzapp Shoot from The Time-Lord – Arwyn Bailey.
Expectations.
Understanding and mastering lighting conditions is not easy and it cannot be achieved overnight.
However, beginning now, and today, will pay dividends to you when you are taking shots of your personnel, event, buildings, products and more. Learn how to use a flash as a start of this exciting journey.
Alternatively, you can ask me to do this for you.
Get In Touch.
The services that I provide, to you, provides you with images that are as colour accurate as they can be.
Tapping into my experience starts by you contacting me via my contact page by clicking here for a no obligation conversation.
Also, you can learn more about me by viewing my YouTube Channel that can be found by clicking here.
You can review the services that I offer to you, within a safe environment during this COVID-19 situation.
Start planning your own marketing endeavours with me.
Lord Pennington-Bailey, Arwyn, of Hougun Manor.
