Are You Highly Defined?: How to Use and Create Better Images Using the HDR Setting?
HDR (High Dynamic Range) setting is a powerful tool for capturing and editing photos. It is a technique that allows you to create images with a higher dynamic range than what your camera is capable of capturing in a single shot.
With the HDR setting, you can take multiple shots of the same scene at different exposures and then merge them into a single image that contains a wider range of tones and colors.
In this blog post, we will discuss how to use and create better images using HDR for photo editing.
Understanding the HDR setting
Before we dive into how to use HDR for photo editing, it’s important to understand what function it serves. As mentioned, the HDR setting takes multiple shots of the same scene at different exposures, typically three or more.
The camera then merges these images into one, creating an image that has a higher dynamic range than a single exposure image. The resulting image will benefit from increased detail in the highlights and shadows and a greater range of colors.
When to use HDR for photo editing
HDR is ideal for scenes with high contrast, such as landscapes with bright skies and dark shadows. It is also useful for interior shots where there may be a mix of bright and dark areas. Using HDR in these situations will help ensure that you capture all the detail in the scene.
How to use HDR for photo editing
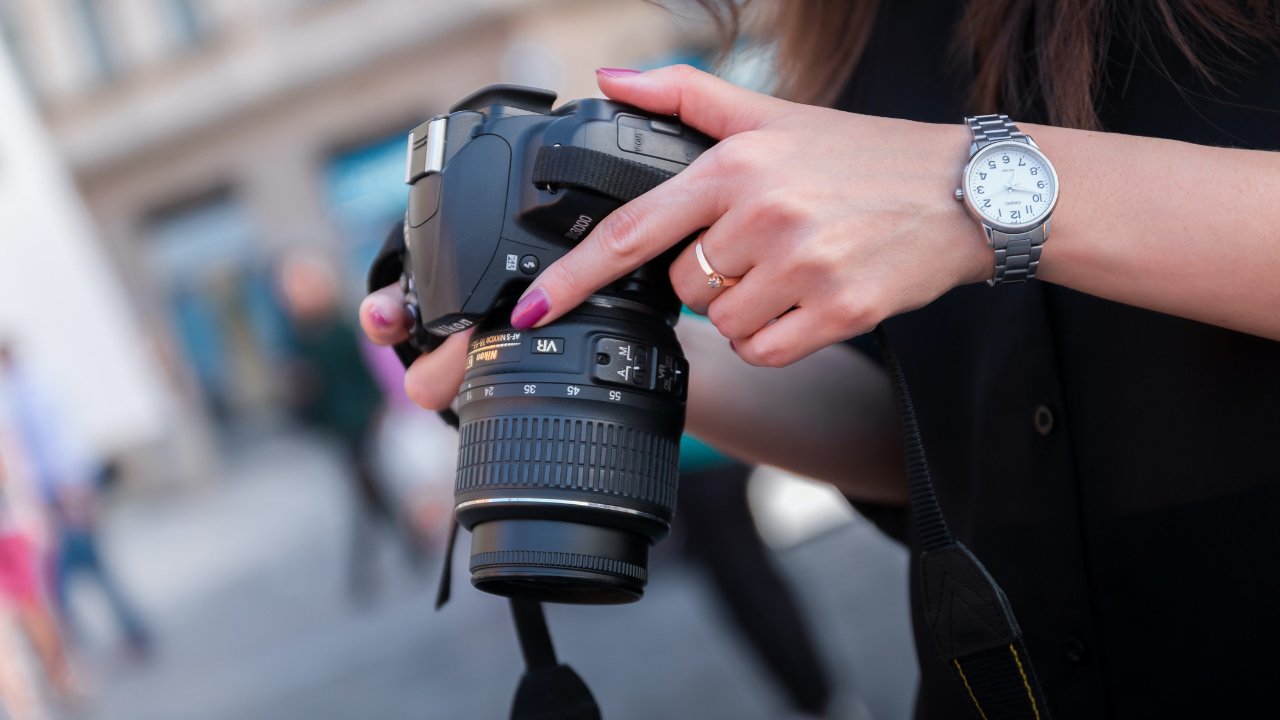
Firstly, you will need a camera with an HDR setting. Most modern cameras have an HDR mode that can be accessed through the camera’s settings.
Once you have activated the HDR mode, take multiple shots of the same scene at different exposures. You can do this by changing the exposure settings on your camera or by using auto-bracketing.
After you have taken the shots, transfer them to your computer and open them in HDR editing software. There are many HDR editing software options available, such as Adobe Lightroom, Aurora HDR, and Photomatix. These software programs will merge the images into one HDR image, and you can then edit the image as you would any other photo.
Tips for creating better images using HDR
To create better images using HDR, there are a few tips to keep in mind.
-
Use a tripod to ensure that all your shots are taken from the same angle. This will help make the merging process easier and reduce the risk of the images being misaligned
-
Avoid using HDR in situations with a lot of movement, such as crowds or moving water. This can result in ghosting and other artifacts in the final image
-
Experiment with the HDR settings on your camera and editing software to find the right balance of detail and color
T L Media is the place to be for photography and videography resources
With this advice, you’ll be well on your way to using HDR for photo editing like a pro. If you’re interested in more tips, tricks, and handy resources, be sure to subscribe to our YouTube Channel and follow along with our blog. Additionally, if you have any questions, feel free to reach out to our resident Time-Lord, Arwyn.